
If you’re looking for a fresh, zesty dessert that’s easy to make and perfect for individual servings, this no-bake key lime cheesecake jar recipe is for you. With no need to turn on the oven, you’ll have a deliciously tangy treat in no time. Read on for all the steps and tips to make this dessert perfectly every time!
What Are No-Bake Key Lime Cheesecake Jars?
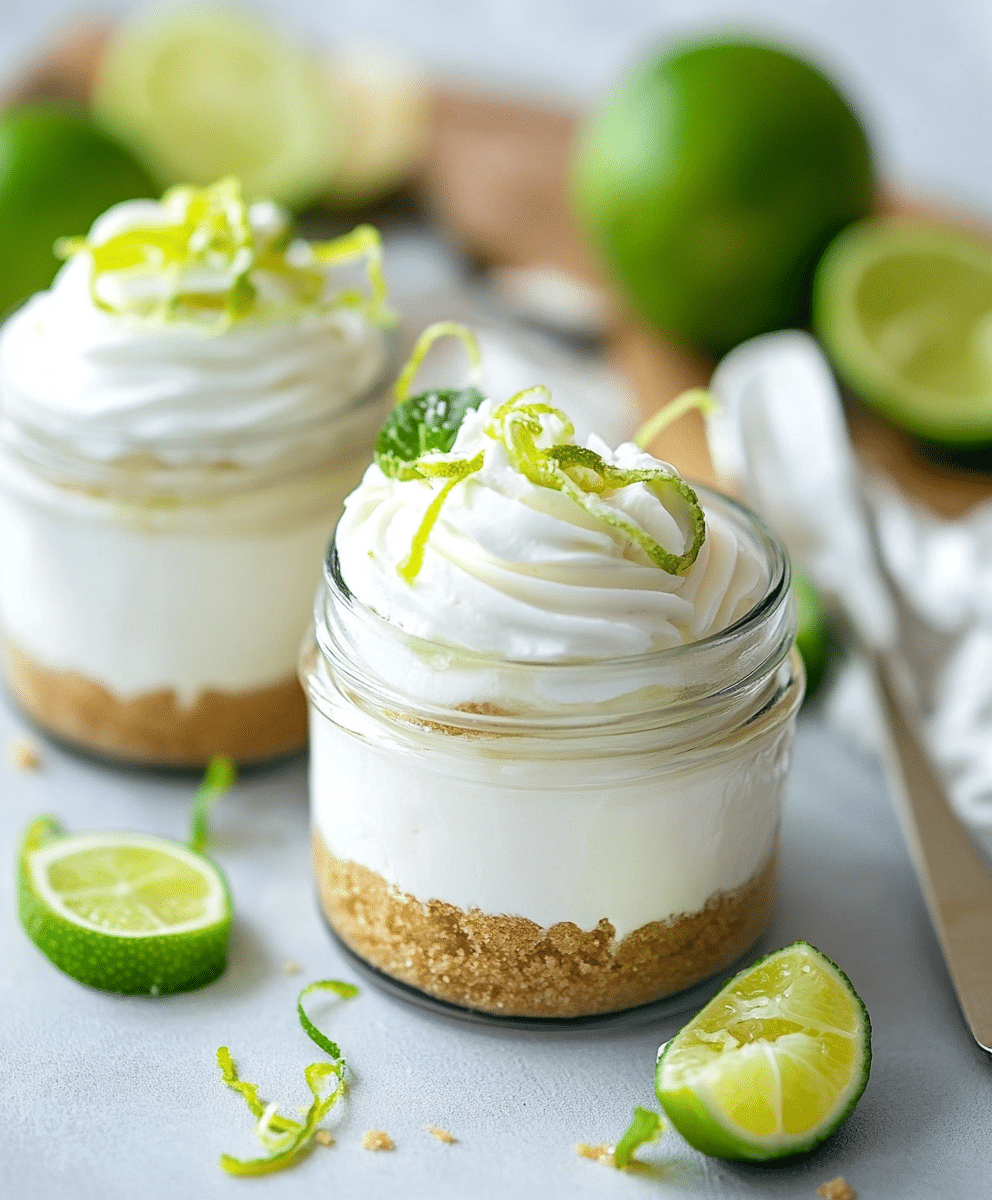
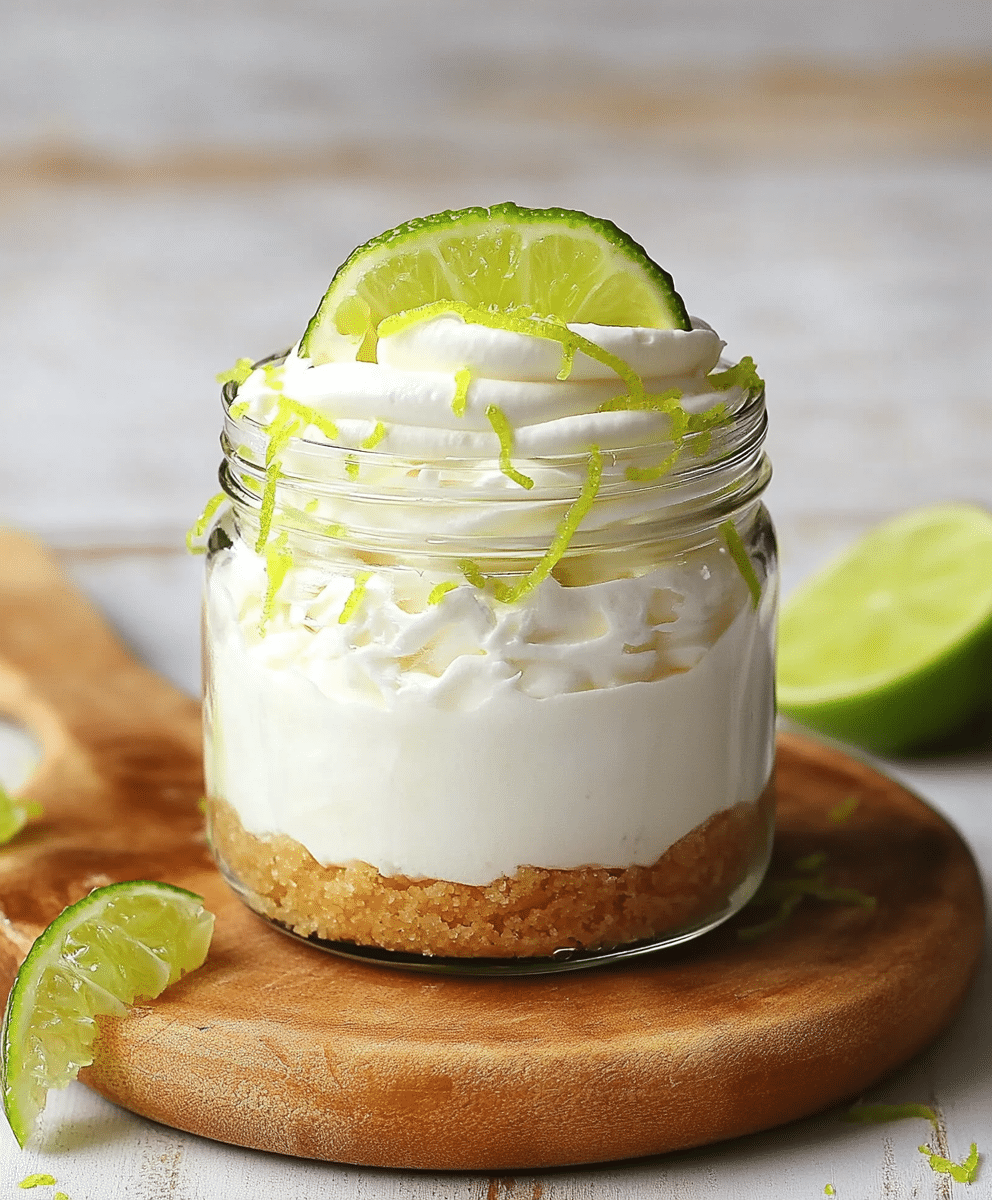
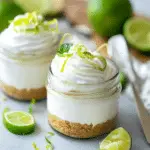
No-bake key lime cheesecake jars are individual servings of a creamy, tangy key lime cheesecake layered with a buttery graham cracker crust, all assembled into a jar for a simple yet elegant presentation. The tartness of the key lime pairs beautifully with the richness of the cheesecake, and the no-bake aspect makes this dessert super convenient and fuss-free. This dessert is perfect for parties, picnics, or any time you want to enjoy a refreshing dessert without the hassle of baking.
Ingredients List for No-Bake Key Lime Cheesecake Jars
- For the crust:
- 1 ½ cups graham cracker crumbs
- ¼ cup granulated sugar
- ½ cup unsalted butter, melted
- For the key lime cheesecake filling:
- 16 oz cream cheese, softened
- 1 cup sweetened condensed milk
- ½ cup fresh key lime juice (or regular lime juice if key limes aren’t available)
- 1 tablespoon key lime zest
- 1 teaspoon vanilla extract
- For the topping:
- 1 cup whipped cream (homemade or store-bought)
- Key lime slices for garnish
- Extra lime zest for sprinkling
Substitutions and Variations
If you can’t find key limes, you can use regular limes, which are more widely available. The flavor is slightly less intense, but still delicious. For a gluten-free version, simply substitute the graham crackers for gluten-free graham crackers. If you want to switch up the flavor, you can use lemon juice instead of lime, creating a bright lemon cheesecake jar. For those who prefer a bit of crunch, consider adding chopped nuts or toasted coconut to the crust mixture.
Step-by-Step Cooking Instructions
- Prepare the crust:
Start by combining the graham cracker crumbs, sugar, and melted butter in a medium bowl. Stir until the mixture resembles wet sand. Divide the mixture evenly between your serving jars, pressing it down firmly into the bottom of each jar to create the crust layer. Place the jars in the refrigerator while you prepare the cheesecake filling. - Make the cheesecake filling:
In a large mixing bowl, beat the softened cream cheese until it’s smooth and creamy. Gradually add the sweetened condensed milk, mixing continuously until fully incorporated. Add the fresh key lime juice, lime zest, and vanilla extract, and mix again until everything is combined and the filling is light and fluffy. - Assemble the jars:
Remove the jars from the fridge and spoon the cheesecake filling over the prepared graham cracker crusts, dividing it evenly among the jars. Smooth the tops with the back of a spoon or a small spatula. - Chill the jars:
Cover the jars with plastic wrap or lids and place them in the refrigerator for at least 2 hours, or until the cheesecake layer has firmed up. - Top with whipped cream:
Just before serving, add a dollop of whipped cream on top of each cheesecake jar. Garnish with a thin slice of key lime and a sprinkle of lime zest for a burst of color and extra flavor.
How to Cook No-Bake Key Lime Cheesecake Jars: A Step-by-Step Guide
The beauty of no-bake desserts is that there’s no cooking involved, but precision is still key. Here’s a closer look at each step to make sure your no-bake key lime cheesecake jars turn out perfectly:
- Crust Prep:
When mixing the crust ingredients, make sure the graham cracker crumbs are well-coated with butter. This helps them bind together better, so your crust stays firm and doesn’t crumble when you dig into the cheesecake. Press the mixture down evenly in the jars to create a solid base. - Cheesecake Filling Consistency:
Ensure your cream cheese is at room temperature before you start mixing. This ensures that your filling is smooth and free of lumps. Beat the cream cheese until it’s light and airy, and make sure to mix in the lime juice and zest thoroughly to avoid any pockets of unmixed ingredients. - Chilling Time:
While it might be tempting to serve the cheesecake jars right away, chilling them allows the filling to firm up and develop a smooth, creamy texture. Be patient and let the jars sit in the fridge for at least 2 hours.
Common Mistakes to Avoid
- Using cold cream cheese:
If your cream cheese is still cold, your filling may end up lumpy. Always ensure it’s softened to room temperature before you begin. - Not pressing the crust firmly enough:
If the crust is too loose, it won’t hold up well when you add the cheesecake filling. Make sure to press it down firmly into the jars. - Overmixing the filling:
While you want the ingredients to be fully combined, overmixing can result in a filling that’s too runny. Mix just until everything is smooth and creamy. - Skipping the chilling step:
Don’t skip the refrigeration step, as it’s crucial for the cheesecake to set properly.
Serving and Presentation Tips
When it comes to serving no-bake key lime cheesecake jars, presentation is key! Because these desserts are served in individual jars, they already have an elegant look, but a few extra touches can elevate their appearance even more.
How to Serve No-Bake Key Lime Cheesecake Jars
Serve these cheesecakes directly in the jars they were assembled in for a fuss-free, mess-free dessert. The jars make it easy to transport these cheesecakes to parties, picnics, or other events. You can use mini mason jars, small glass containers, or even sturdy plastic cups for casual gatherings. For added convenience, attach a spoon to each jar with twine or ribbon, so guests can easily dig in.
Presentation Ideas for No-Bake Key Lime Cheesecake Jars
- Layering:
If you want to get fancy, try layering the cheesecake mixture and graham cracker crust in alternating layers for a more visual effect. This adds depth to the presentation and gives each bite a variety of textures. - Garnish creatively:
In addition to lime slices and zest, consider adding mint leaves, a drizzle of honey, or even a few edible flowers on top of the whipped cream for an extra-special touch. - Serve on a platter:
Place all your jars on a decorative platter or tray. This not only makes transportation easier but also makes for a beautiful presentation at any gathering.
No-Bake Key Lime Cheesecake Recipe Tips
- Pre-make the crust:
If you want to save time, you can prepare the graham cracker crust a day in advance. Just store the jars in the fridge, then add the filling the next day. - Control the tartness:
If you prefer your cheesecake on the milder side, reduce the amount of key lime juice by a couple of tablespoons. Conversely, if you love an extra tangy kick, add a little more zest or juice. - Keep it chilled until serving:
Always keep your cheesecake jars in the fridge until you’re ready to serve them, especially if it’s a warm day. These desserts are best enjoyed cold.
Frequently Asked Questions (FAQs)
Q: Can I make this recipe ahead of time?
A: Absolutely! These jars can be made up to 2 days in advance. Just be sure to store them in the refrigerator and add the whipped cream and garnish just before serving.
Q: Can I freeze no-bake key lime cheesecake jars?
A: Yes, you can freeze them. Assemble the jars without the whipped cream, cover tightly, and freeze for up to 1 month. Thaw in the fridge overnight and add the whipped cream topping before serving.
Q: What’s the difference between key limes and regular limes?
A: Key limes are smaller, more aromatic, and have a more intense, tangy flavor compared to regular limes. If you can’t find key limes, regular limes are a good substitute.
Q: Can I use low-fat cream cheese?
A: Yes, but keep in mind that low-fat cream cheese may result in a slightly less creamy texture.
Conclusion
No-bake key lime cheesecake jars are the perfect combination of tart, creamy, and sweet, all served in a convenient and beautiful individual jar. Whether you’re making these for a casual get-together or a special occasion, they’re sure to impress your guests. Plus, with no baking required, you can enjoy this refreshing dessert without breaking a sweat!
PrintNo-bake Key Lime Cheesecake Jars Recipe
This no-bake Key Lime Cheesecake Jars recipe features a luscious, tangy lime filling with a crunchy graham cracker crust. Made in individual jars, this simple dessert is ideal for summer and can be whipped up quickly with minimal effort. Perfect for entertaining or a sweet treat on a hot day, this recipe uses fresh lime juice and zest to bring out authentic key lime flavor.
- Prep Time: 20 minutes
- Cook Time: 0 minutes
- Total Time: 2 hours 20 minutes (includes chilling time)
- Yield: 6 servings
- Category: Dessert
- Method: No-bake
- Cuisine: American
- Diet: Vegetarian
Ingredients
- Graham crackers
- Butter (melted)
- Cream cheese (softened)
- Sweetened condensed milk
- Key lime juice
- Lime zest
- Whipped cream (for topping)
Instructions
- Crush the graham crackers and mix with melted butter.
- Press the mixture into the bottom of each jar to create the crust.
- In a large bowl, beat the cream cheese until smooth.
- Add sweetened condensed milk, key lime juice, and lime zest to the cream cheese, mixing until fully combined.
- Spoon the lime cheesecake mixture over the graham cracker crust in each jar.
- Refrigerate for at least 2 hours.
- Top with whipped cream and extra lime zest before serving.
Notes
- You can substitute regular lime juice if key limes are unavailable.
- Use mason jars or any small serving jars for an attractive presentation.
- Chill longer for a firmer texture.
Nutrition
- Serving Size: 1 jar
- Calories: 360
- Sugar: 30g
- Sodium: 240mg


Leave a Reply