
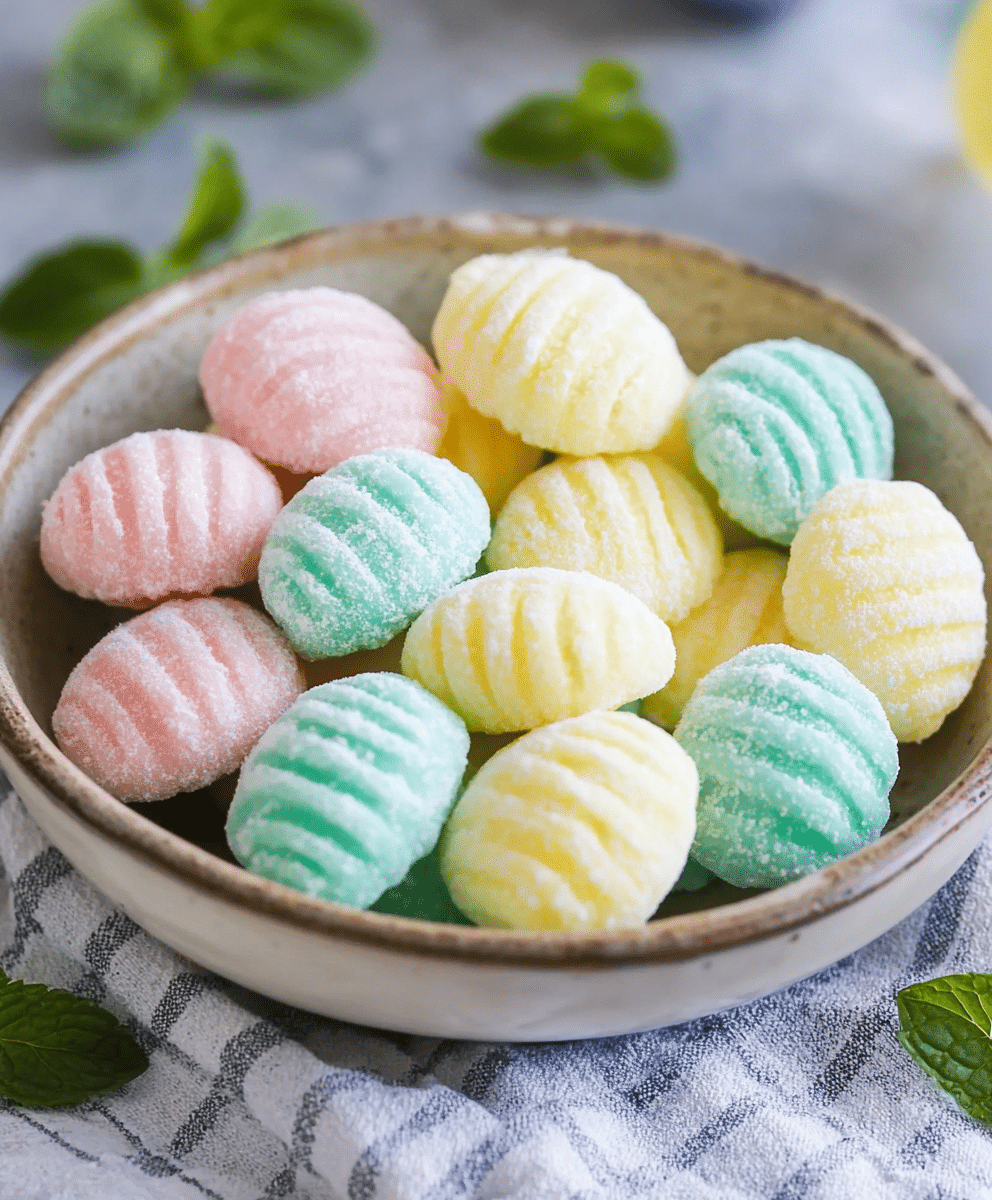
There's something delightfully nostalgic about a tray of creamy, melt-in-your-mouth cream cheese mints. These pastel-colored treats are perfect for weddings, baby showers, or simply to satisfy a sweet tooth. With their delicate texture and burst of minty flavor, they're as elegant as they are easy to make.
I remember the first time I tried cream cheese mints at a family gathering—they were almost too pretty to eat! Once I learned how simple they were to make, they became a go-to recipe for every celebration. Ready to add these sweet, customizable treats to your dessert repertoire?
Why You'll Love This Simple Cream Cheese Mints Recipe
Get ready to discover the easiest and most delightful homemade candy you'll ever make. Cream cheese mints are a recipe you’ll keep coming back to for all kinds of occasions.
First, this recipe is incredibly simple and quick. With just a handful of ingredients and no baking required, you can whip up a batch in under an hour. Perfect for when you're short on time but still want to impress.
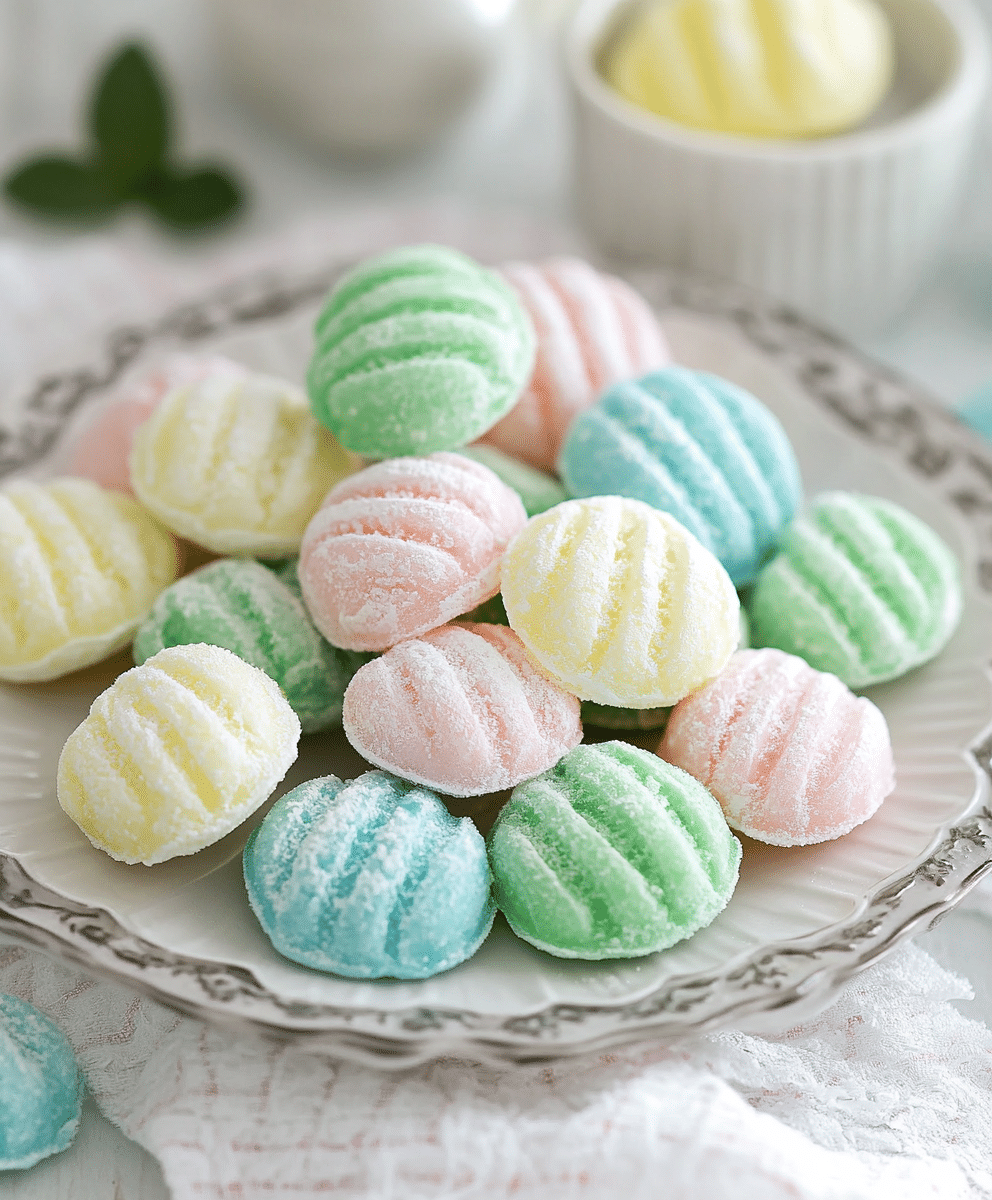
They’re also highly customizable. Whether you prefer traditional mint, almond, or another flavor, you can easily adapt the recipe to suit your taste. Add food coloring to match a party theme, or shape them for a festive touch.
These mints are perfect for special occasions or everyday snacking. They're elegant enough for weddings and celebrations but simple enough to make just because.
Finally, they’re budget-friendly. With pantry staples like powdered sugar and cream cheese, this recipe proves you don’t need expensive ingredients to create something extraordinary.
Ingredients Notes
The beauty of this recipe lies in its simplicity, with each ingredient playing an important role in creating the perfect texture and flavor.
Cream Cheese: Use full-fat cream cheese for the creamiest, richest results. Let it soften to room temperature before mixing to ensure a smooth texture.
Powdered Sugar: This sweetener not only adds sweetness but also helps bind the mints together. Sift it first to avoid lumps.
Mint Extract: A little goes a long way. Use high-quality mint extract for the best flavor, and adjust the amount to taste.
Food Coloring (optional): Gel food coloring works best for vibrant hues without thinning the mixture. Choose colors that match your theme or leave the mints their natural creamy white.
Granulated Sugar: This is used for coating the mints to keep them from sticking to each other and adds a subtle crunch.
For shaping, you’ll need silicone molds or a fork to create classic ridged discs. No fancy equipment required!
How To Make This Simple Cream Cheese Mints Recipe
Making these cream cheese mints is as fun as it is straightforward. Follow these steps for perfectly creamy, sweet, and minty treats.
Start by creaming the softened cream cheese in a large bowl until smooth and fluffy. A hand mixer or stand mixer works well here, but a sturdy spatula will also do the trick.
Gradually add the powdered sugar to the cream cheese, one cup at a time, mixing thoroughly between additions. The mixture will start to thicken and form a dough-like consistency.
Mix in the mint extract and your desired food coloring, if using. Knead the dough lightly with your hands to evenly distribute the color and flavor.
Roll the dough into small balls, about the size of a marble, and coat each ball in granulated sugar. If shaping by hand, use the back of a fork to gently press each ball into a disc. Alternatively, press the dough into silicone molds for intricate designs.
Place the shaped mints on a parchment-lined baking sheet and let them air dry for several hours or overnight. This step ensures the mints develop a slightly firm exterior while staying soft inside.
Store the finished mints in an airtight container, separating layers with wax paper to prevent sticking.
Storage Options
These cream cheese mints store beautifully, making them an ideal make-ahead treat.
- Room Temperature: Keep the mints in an airtight container for up to 1 week. Make sure they're in a cool, dry place to prevent melting.
- Refrigeration: Extend their freshness by storing them in the refrigerator. They’ll keep for up to 2 weeks in a sealed container.
- Freezing: For longer storage, freeze the mints in a single layer on a baking sheet, then transfer them to a freezer-safe container. They’ll last up to 3 months. Thaw at room temperature before serving.
When reheating or softening for reshaping, avoid high heat as it can compromise their texture.
Variations and Substitutions
The versatility of this recipe means you can get creative with flavors, colors, and shapes.
- Flavors: Swap the mint extract for almond, vanilla, or even lemon extract to switch up the taste. A drop of peppermint oil can also be used for a bolder mint flavor.
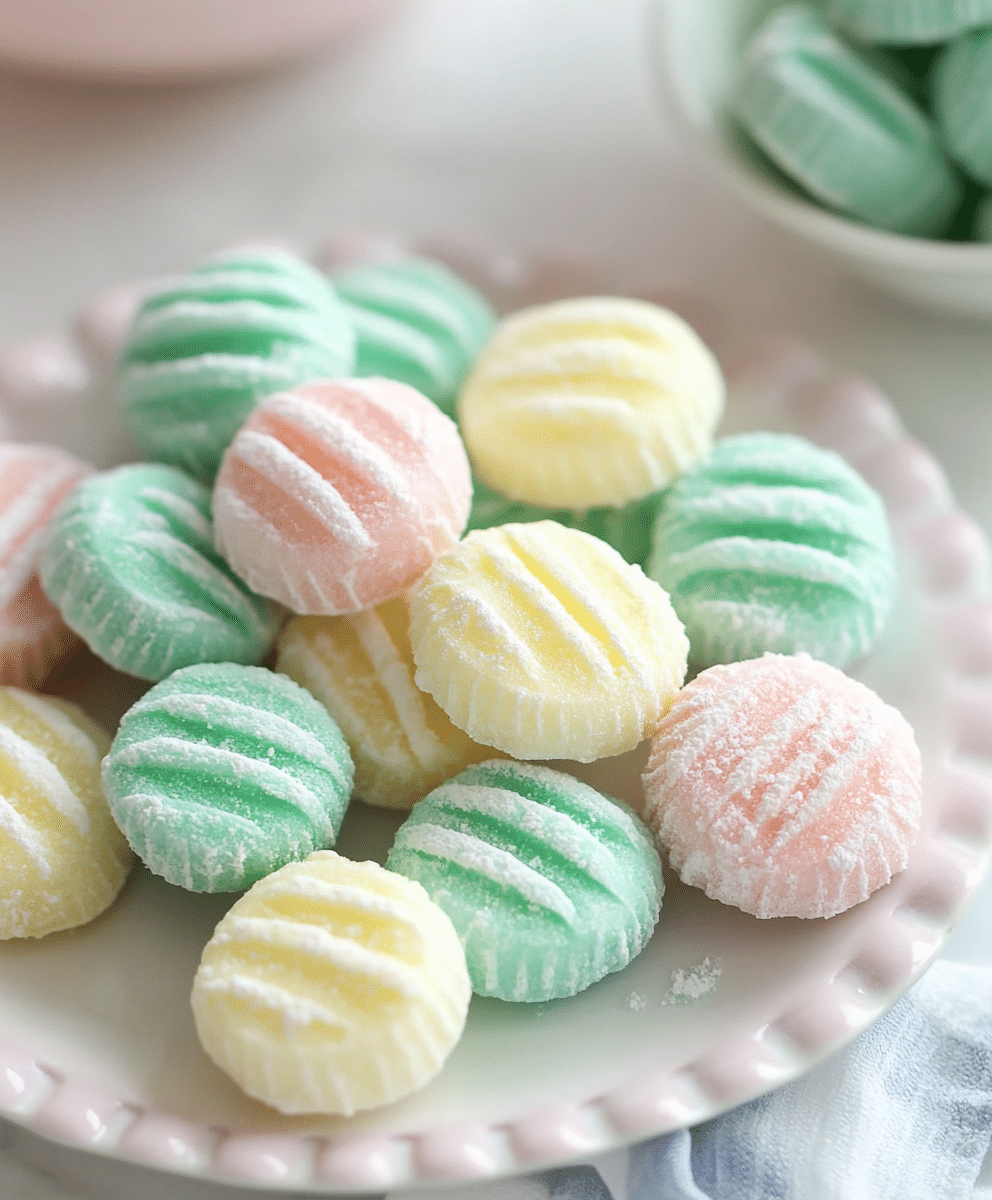
- Colors: Match your mints to any theme by experimenting with gel food coloring. Combine colors to create marble effects or gradients.
- Shapes: Use cookie cutters or molds for themed shapes like hearts, stars, or flowers. Perfect for holidays or special events.
- Dietary Adjustments: Use a dairy-free cream cheese alternative for a vegan-friendly version. Ensure your powdered sugar is also vegan.
- Coating: Skip the granulated sugar and dust the mints with cornstarch for a matte finish.
These cream cheese mints are a fun and rewarding recipe to experiment with. Don't hesitate to put your own spin on this timeless classic!
PrintSimple Cream Cheese Mints Recipe

Make these simple and delicious cream cheese mints with just a few ingredients! Perfect for celebrations, these melt-in-your-mouth treats combine cream cheese, powdered sugar, and a hint of mint for the ultimate bite-sized dessert.
- Prep Time: 15 minutes
- Cook Time: 0 minutes
- Total Time: 15 minutes + drying time
- Yield: Approximately 50 mints 1x
Ingredients
- 4 oz cream cheese, softened
- 3 ½ cups powdered sugar, sifted
- ¼ tsp peppermint extract
- Gel food coloring (optional)
- Granulated sugar (for coating)
Instructions
- In a mixing bowl, beat the softened cream cheese until smooth.
- Gradually add the powdered sugar and mix until a smooth dough forms.
- Stir in the peppermint extract and mix well. Add food coloring if desired.
- Roll the dough into small balls, about 1 teaspoon each.
- Coat each ball lightly in granulated sugar.
- Flatten each ball with a fork or press into a mold for decorative shapes.
- Let mints dry at room temperature for 12–24 hours.
- Store in an airtight container for up to 2 weeks.
Notes
- For a stronger mint flavor, add a few extra drops of peppermint extract.
- Use molds for custom shapes, perfect for themed parties or holidays.
- Ensure mints dry completely before storing to prevent sticking.
Nutrition
- Serving Size: 2 mints
- Calories: 45
- Sugar: 7g
- Sodium: 5mg


Leave a Reply